
Paper Mache, Taking Sculpting to the Next Level
As soon as I made chicken wire armatures for my garden cement decorations, I realized that I could make these same frames for indoor projects, so paper mache instead of concrete. So now I’m learning more about paper mache recipes. I grew up with flour and water, but apparently, paper mache has come a long way since my early years. So now I’m experimenting with recipes and what I can accomplish. So exciting.
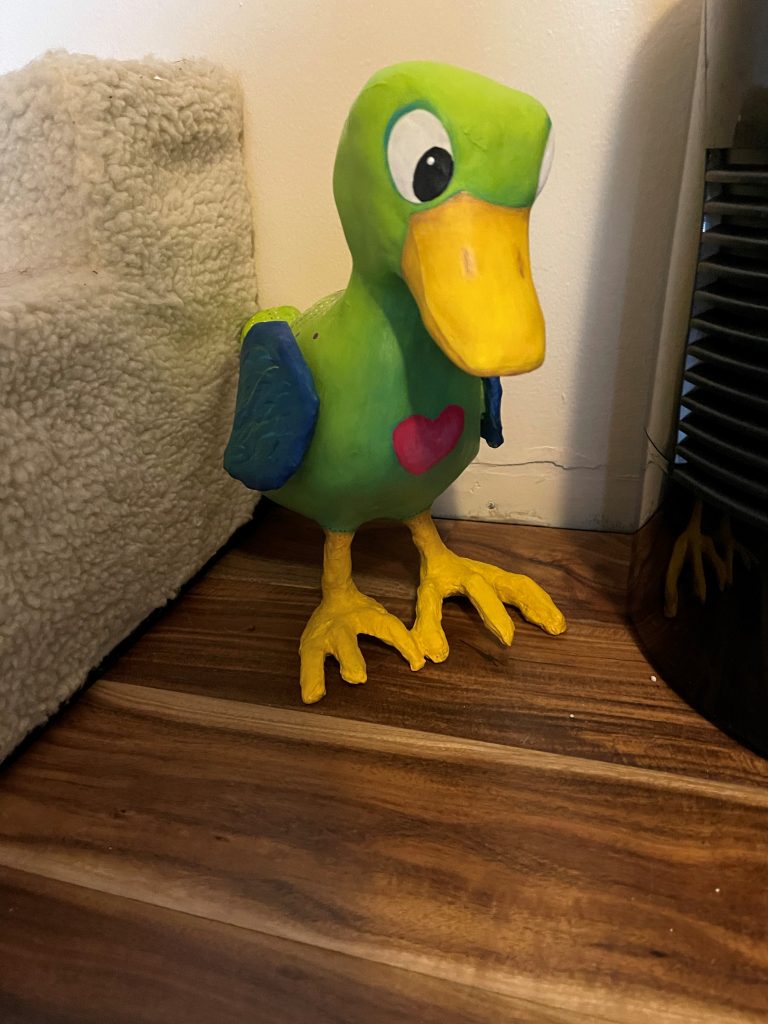
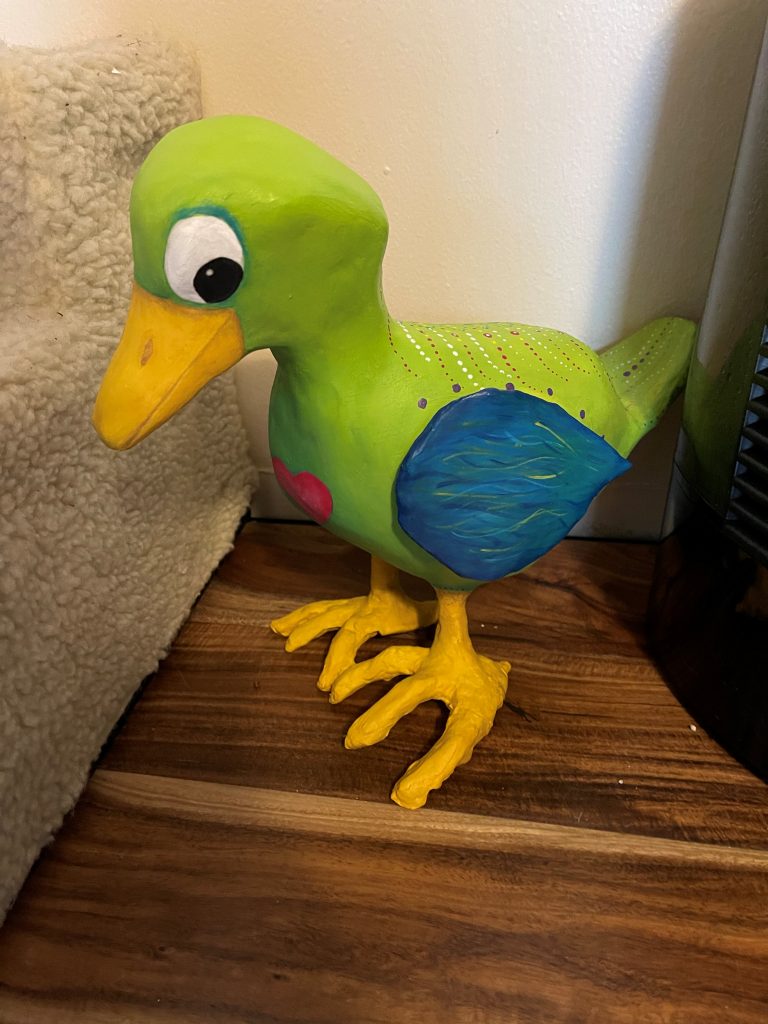
This is my first critter. I know he looks like a duck, but I doubt that’s what he’ll end up being, at least not like any duck you’d find down at the pond.
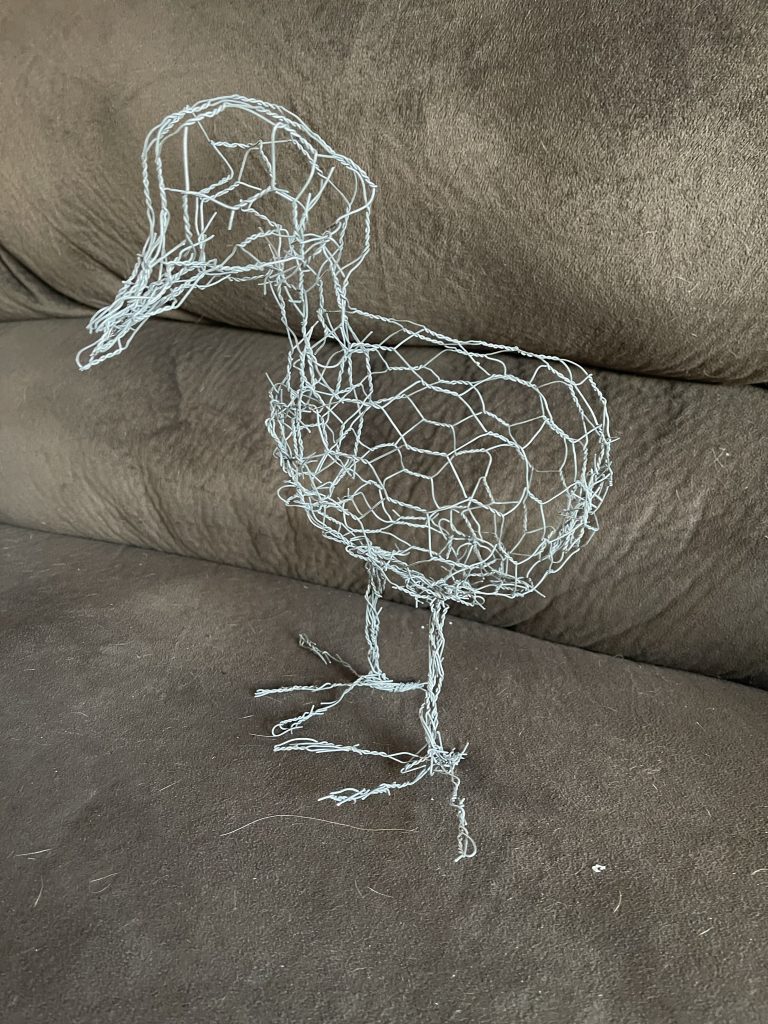
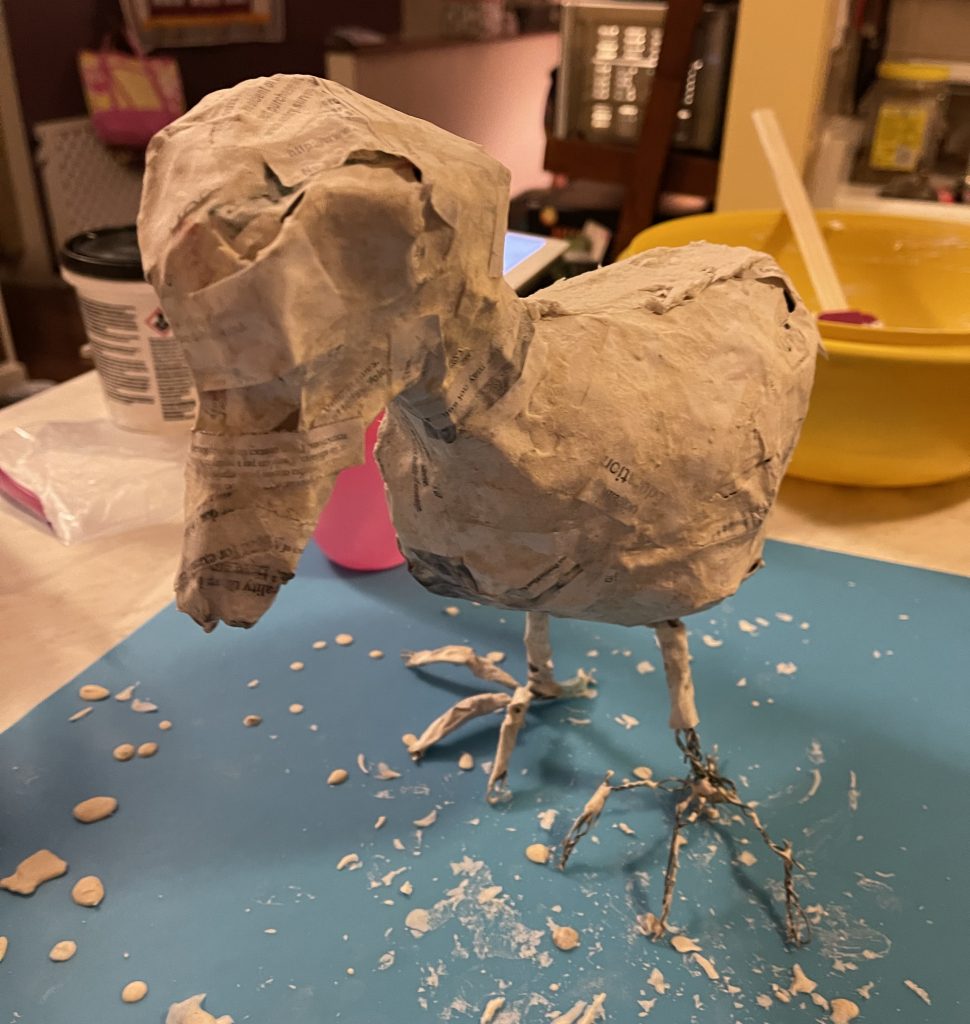
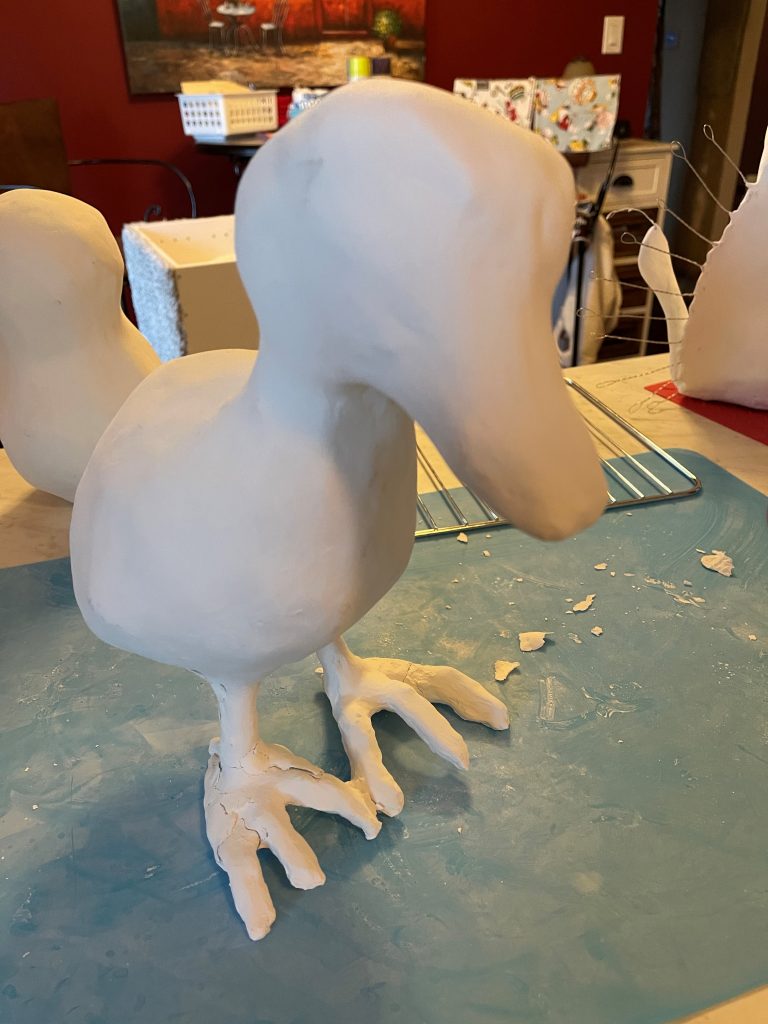
I’m finding new paper mache recipes from very creative artists on Pinterest. I found a recipe for paper mache clay which I used over the paper mache. I did one course layer, but that was too rough, so I tried a smoother batch of the clay to smooth it out.
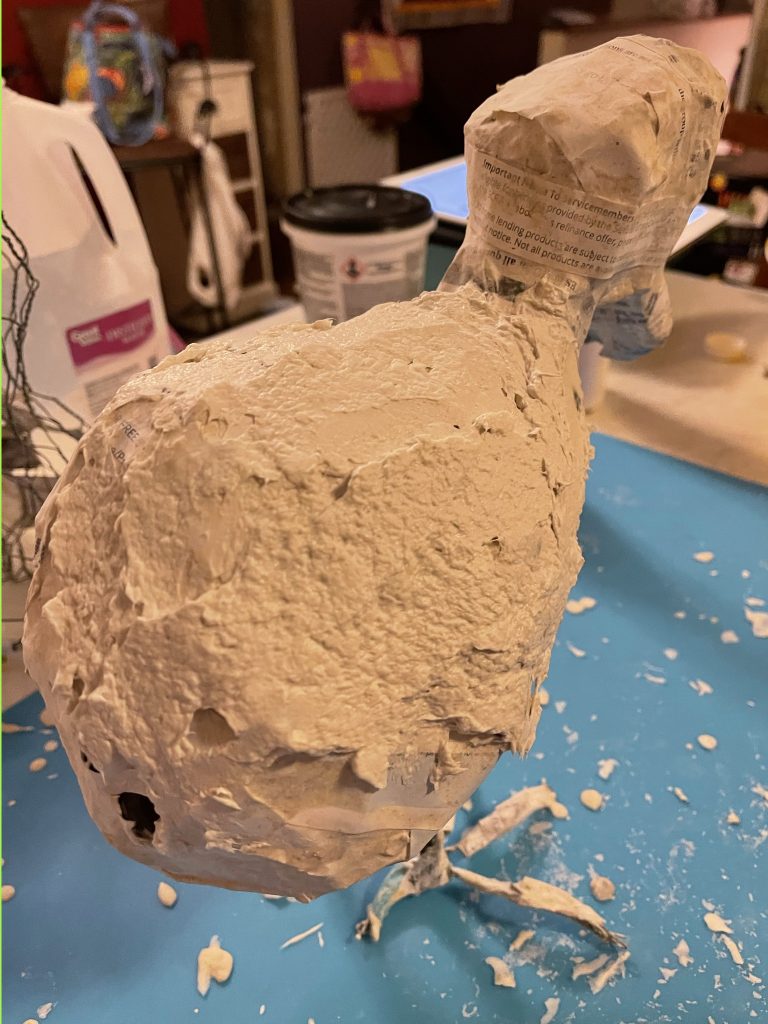
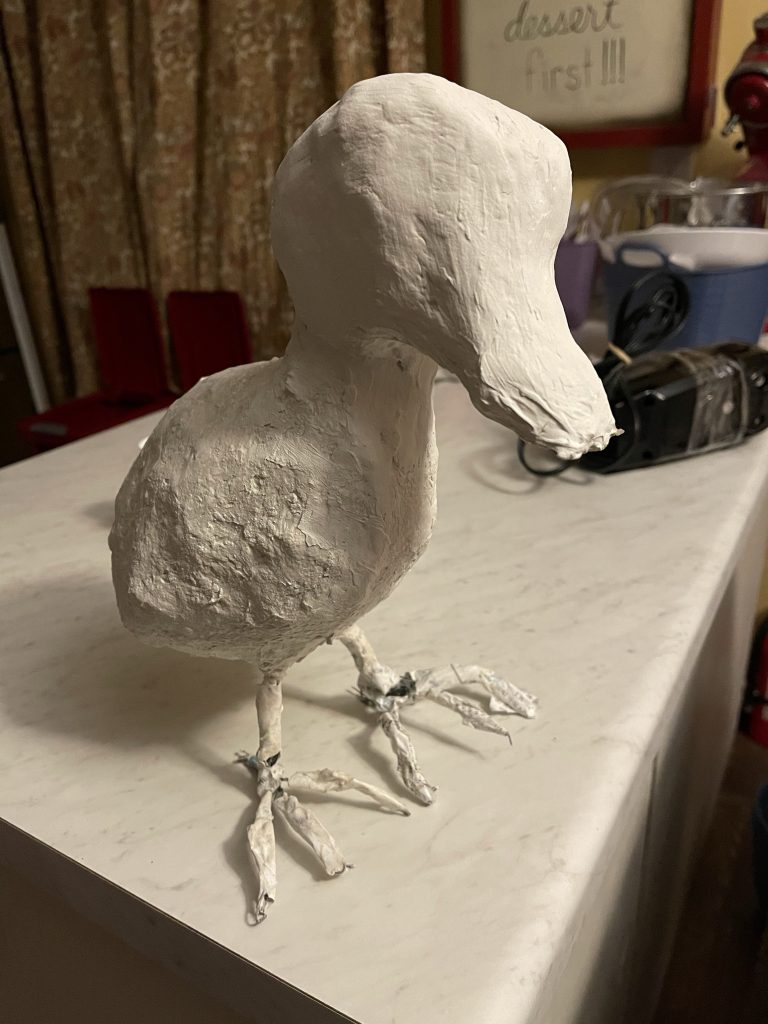
I worked on some nice smooth layers of joint compound. It took quite a few layers. I tried to add some clay to the feet to smooth them out, but it cracked. It was an unintended effect, but I actually like it. It’s just a bit wackier.
After it was all smoothed out, it was time for gesso, then paint. The fun stuff.
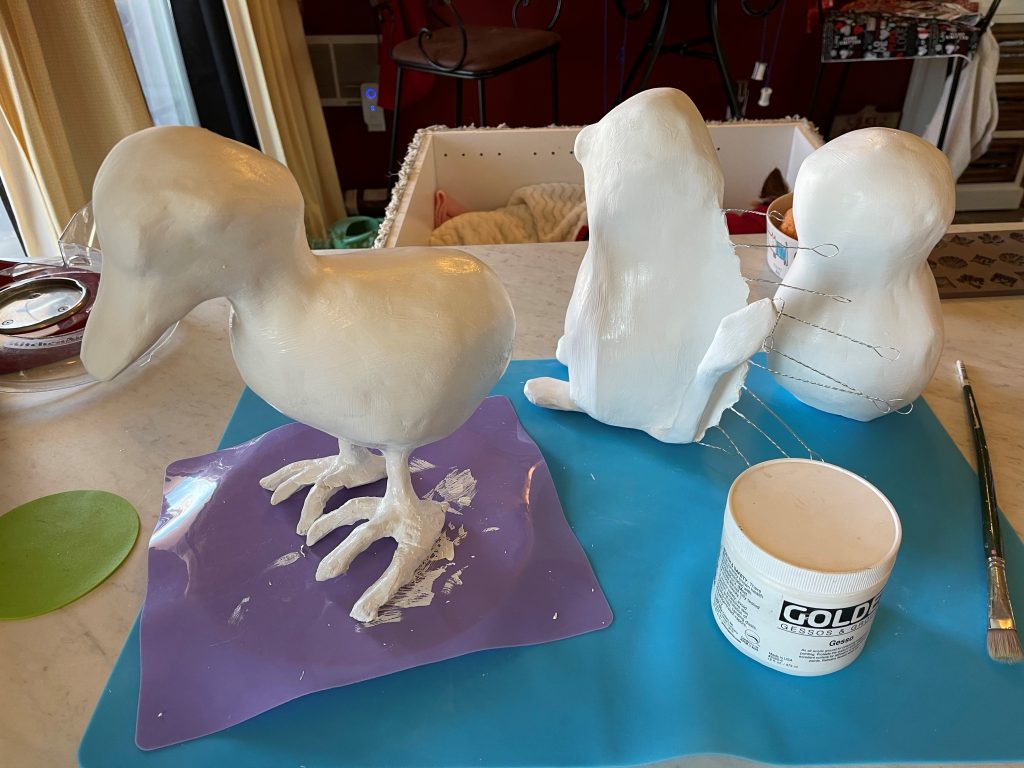
I started painting his feet and beak, then I realize he was missing something, or somethings. 🙂 So back to the drawing board. I made him some tail feathers and wings. The tail feathers started just like the rest of him, chicken wire. I hot glued that armature to his body, did layers of paper mache paper strips and paper mache clay to be sure it was well connected and smooth. Then the layers of joint compound and gesso. I did the same process with wings and glued them on. Then it was time for him to come to life.
I’ve found several new recipes for paper mache and paper mache clay. Who knew? Check out my paper mache and concrete recipes.